
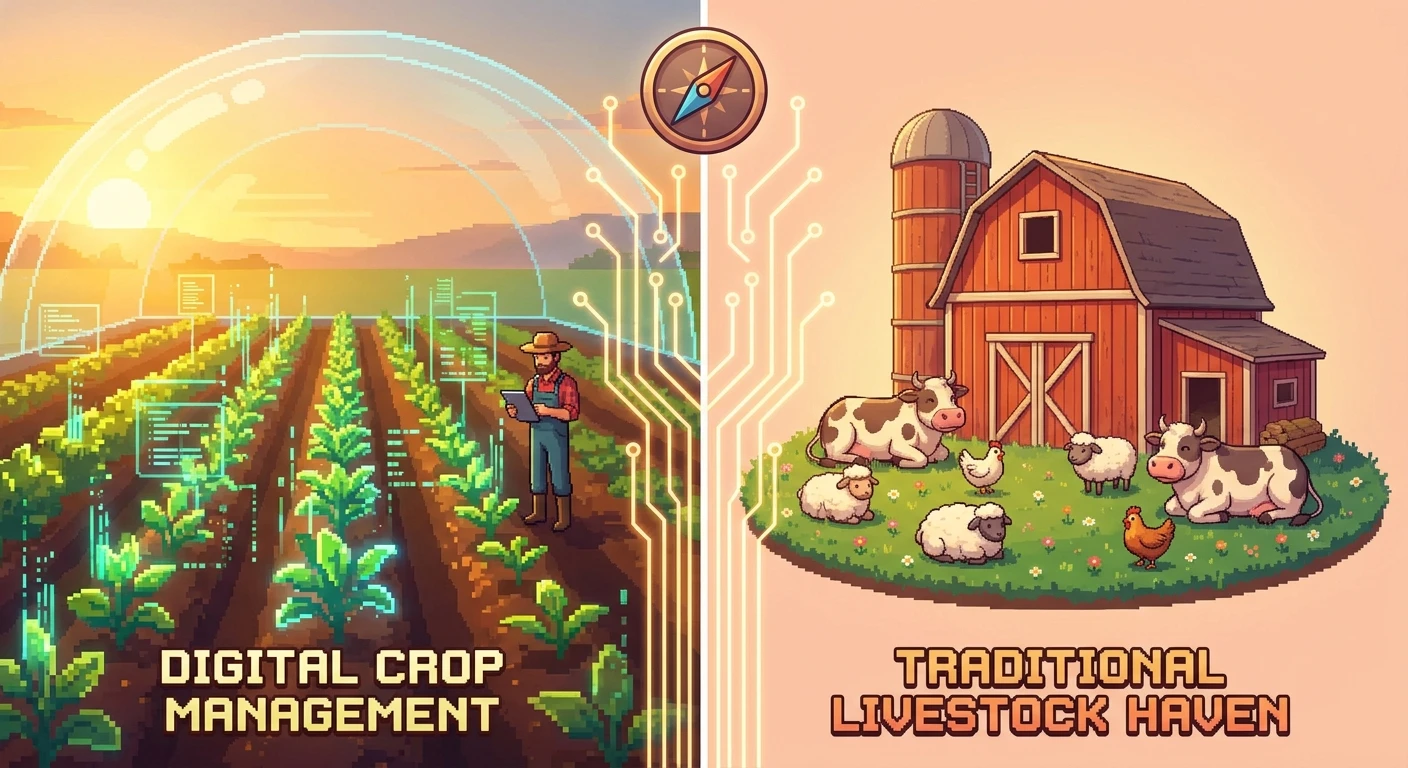
Deciding Between Stardew Valley Rancher or Tiller
When the screen fades to black at the end of a long day of watering crops, you are suddenly faced with a massive economic decision: should you choose the Stardew Valley Rancher or Tiller profession? Figuring out the optimal path can feel completely overwhelming because this single choice dictates your entire financial trajectory for the next several in-game seasons. Choosing how you manage your agricultural empire is the fundamental backbone of your success in Pelican Town. The immediate perks might seem relatively straightforward—a flat 20 percent bonus to animal products or a 10 percent increase to raw crop values—but the real weight of this decision lies in the powerful Level 10 professions they eventually unlock. You are not just picking a small monetary bump; you are selecting your endgame money-making strategy. If you rush blindly into this menu without understanding the ripple effects on kegs, preserve jars, cheese presses, and mayonnaise machines, you might leave millions of gold on the table. We need to break down the exact mathematical multipliers, the daily routine implications, and the late-game scaling potential so you can make a fully informed and highly profitable decision. Whether you want a farm bustling with happy pigs and cows or a massive automated winery spanning the entire valley, your choice at Level 5 sets the ultimate foundation.
Understanding the Core Benefits and Strategic Value
When evaluating the core benefits of your Farming Level 5 options, you need to deeply understand the fundamental differences in daily farm operations and capital generation. The Rancher path gives you an immediate 20 percent price bump on raw animal products like milk, eggs, wool, and duck feathers. This is incredibly helpful in the early game when you might only have a basic coop and a small barn, and you rely heavily on selling raw items just to buy the next round of seasonal seeds. However, the Tiller path, which offers 10 percent more gold for crops, acts as a massive strategic stepping stone. It might seem significantly weaker on paper during your first Spring or Summer, but its true value proposition comes from the Level 10 Artisan profession, which boosts processed goods by a staggering 40 percent.
Read also: Stardew Valley Cross Platform Play: Full Multiplayer Guide; Understanding Your Province Your Premier Governance.
| Farming Profession Path | Level 5 Immediate Bonus | Level 10 Specialization Options |
|---|---|---|
| Rancher Profession | Raw animal products sell for 20% more gold | Coopmaster (faster incubation) or Shepherd (faster wool) |
| Tiller Profession | Raw harvested crops sell for 10% more gold | Artisan (processed goods +40%) or Agriculturist (faster growth) |
| Flexible Strategy | Depends on current seasonal focus | Reset anytime at the Statue of Uncertainty in the Sewers |
To fully grasp the magnitude of these branching paths, consider the exact value proposition they offer across different playstyles:
Example 1: The Wine Empire. If you run a massive Starfruit operation using the Greenhouse or Ginger Island, the Tiller path leading directly to Artisan turns a standard Starfruit wine from 2,250g to an incredible 3,150g. Over a full cellar of casks, that is a monumental wealth generator that easily pays for the Gold Clock.
Example 2: The Casual Barnyard. If you prefer minimal processing and just want to pet your farm animals every morning without managing dozens of machines, Rancher leading to Shepherd or Coopmaster allows you to hatch eggs faster, befriend your animals much quicker, and sell high-quality iridium wool and milk for an excellent, low-effort daily profit.
To decide which strategy perfectly fits your current save file, follow these critical evaluation steps:
- Calculate your daily energy limit and decide if watering extensive fields of crops or petting dozens of animals drains your stamina more quickly.
- Count your processing machines carefully; if you have fewer than twenty kegs or preserve jars, the immediate crop bonus of Tiller might not translate into Artisan wealth right away.
- Assess your specific farm map layout, as the Riverland or Hill-top farms might severely limit your tillable crop space, making concentrated animal husbandry a much more space-efficient choice.
Origins of the Farming Skill Tree
When the game first launched to massive global success, the economic balance between raising animals and growing crops was starkly different than it is today. Early versions heavily favored mass agriculture because the underlying processing mathematics heavily skewed toward mass-producing kegs and wine. Players quickly realized that dedicating massive plots of standard farm dirt to Ancient Fruit yielded financial numbers that barn animals simply could not touch. The skill tree was always designed to offer a branching, personalized path, but the early meta strongly dictated one specific route for anyone looking to quickly purchase the expensive endgame items like the Return Scepter or community upgrades.
Evolution Through Game Updates
Over the years, successive major updates fundamentally shifted how players interact with their farm animals and crop layouts. The introduction of entirely new items, balance tweaks to mayonnaise and cheese base prices, and massive quality-of-life additions like the auto-petter drastically improved the viability of animal-focused farms. The developers tweaked the hidden multipliers and added new late-game livestock options, giving players genuine reasons to seriously reconsider their initial farming choices. Suddenly, raising ostriches, golden chickens, and managing massive herds of pigs for lucrative truffles became highly competitive strategies that did not require endless rows of scarecrows, iridium sprinklers, and Junimo huts.
Modern State of Farm Economies
Today, the economic landscape of Pelican Town is highly diverse and incredibly balanced. The community broadly recognizes that while the automated wine empire remains mathematically supreme for pure, unadulterated gold output, the animal processing route offers a completely different, relaxed lifestyle with highly respectable profit margins. Furthermore, the modern game mechanics allow you to pivot seamlessly. You are no longer locked into your Farming Level 5 choice for eternity, meaning you can adapt your profession to match your current season, farm layout limitations, or personal boredom levels without needing to restart your entire save file from day one.
Mathematical Profit Margins Unpacked
Let us look very closely at the underlying engine calculations to truly understand what is happening behind the scenes. When you select Tiller, the game engine applies a strict 1.1x multiplier to the base sell price of items explicitly flagged with the Crop category. This includes vegetables, fruits, and flowers, but explicitly excludes foraged items, which are governed by a completely different skill tree entirely. If you pair this later with the Level 10 Artisan profession, a massive 1.4x multiplier completely overwrites the standard processing margins. For instance, a basic Melon sells for 250g. With Tiller, it sells for 275g. If you place that Melon in a Preserve Jar, its base processed price is calculated as (250 multiplied by 2) plus 50, equaling 550g. With the Artisan profession active, that jarred jelly now sells for a staggering 770g.
Friendship Mechanics and Production Speeds
On the complete opposite side of the spectrum, the Rancher route distinctly modifies animal friendship decay and resource production cycles. A farm animal’s product quality is directly tied to their hidden friendship level, which officially maxes out at 1000 points, visually represented by five hearts. Manual petting gives 15 points daily, while the Coopmaster and Shepherd professions halve the time required to incubate eggs in the incubator and drastically increase the rate at which sheep produce high-value wool.
Here are the critical mechanical facts to remember when running your farm calculations:
- Truffles are technically classified by the game code as foraged items, meaning the Level 10 Botanist profession guarantees Iridium quality, largely bypassing the need for Rancher bonuses if you focus solely on managing pigs.
- The Artisan 40 percent bonus actively applies to Truffle Oil, making the Tiller into Artisan route incredibly potent even for dedicated pig farmers.
- Dinosaur Mayonnaise benefits strictly from the Artisan profession multiplier, not the raw animal product multipliers provided by Rancher.
- Fruit tree fruits automatically benefit from Tiller, making orchard-focused farm layouts highly lucrative even before the fruit is tossed into a keg.
- The 10 percent Tiller bonus strictly rounds down to the nearest whole integer in the code, meaning very cheap crops see slightly less exponential growth than highly expensive ones like Starfruit.
Day 1: Assessing Your Farm Map
Your chosen farm layout heavily dictates your long-term potential. Standard and planar maps offer vast, unbroken dirt tiles perfectly suited for massive sprinkler grids, leaning heavily toward raw agriculture and the Tiller path. Conversely, Forest or Riverland maps severely limit tillable soil, making concentrated barns and coops significantly more space-efficient and pushing you toward Rancher.
Day 2: Calculating Seed Costs vs. Output
Look critically at your current capital flow. Crops require a constant, seasonal reinvestment of hard-earned gold into seeds unless you utilize seed makers and endless Ancient Fruit. Animals represent a one-time purchase that consistently produces daily resources forever, provided you maintain sufficient hay silos and grass starters.
Day 3: Evaluating Your Barns and Coops
Take an honest inventory of your current animal population. If you only possess four basic chickens and one standard cow at the end of Spring, the 20 percent bonus from Rancher will yield a completely negligible daily profit increase compared to harvesting a massive, well-watered field of summer blueberries.
Day 4: Projecting Level 10 Pathways
Think deeply about your ultimate long-term goals. Do you actively want to spend your winters processing hundreds of kegs in sheds, or do you prefer the immediate, low-stress satisfaction of selling iridium-quality wool and raw cheese daily? Your Level 5 choice firmly locks in these Level 10 possibilities.
Day 5: Exploring the Statue of Uncertainty
If you have successfully unlocked the Sewers by donating artifacts to Gunther, you have permanent access to the Statue of Uncertainty. This strange statue costs 10,000g to completely reset your skill tree overnight. Knowing this exists entirely removes the pressure, allowing you to pick Rancher early for immediate raw cash, then easily swap to Tiller later.
Day 6: Preparing Processors and Kegs
Before firmly committing to the Artisan path, count your oak resin stockpiles and copper bars. If you lack the crafting infrastructure to actually build dozens of kegs, preserve jars, and mayonnaise machines, the massive 40 percent processing bonus will sit completely unused and wasted in your menus.
Day 7: Locking In Your Final Profession Choice
Review your preferred daily digital routine. If watering, harvesting, and tedious keg-loading sounds like exhausting manual labor, pivot strongly toward animals and pick Rancher. If optimizing massive crop yields and watching huge numbers pop up excites you, lock in Tiller and begin your absolute agricultural dominance.
Debunking Farming Myths
Myth: Rancher is completely useless for generating late-game wealth.
Reality: While mass-produced wine produces the absolute highest raw numbers, a fully optimized barn of happy pigs or a deluxe coop of golden chickens combined with the right animal professions can generate massive, low-effort daily income that easily funds expensive endgame purchases like obelisks.
Myth: Tiller only affects raw crops and completely ruins your animal profits.
Reality: Tiller is the only way to unlock the Artisan profession, which boosts the final price of mayonnaise, cheese, and cloth by an incredible 40 percent. Paradoxically, choosing Tiller is actually the absolute best choice for players who actively process their animal products rather than selling them raw.
Myth: You are stuck forever once you pick your Level 5 profession and cannot fix mistakes.
Reality: The Statue of Uncertainty located deep in the Sewers allows you to pay 10,000g to change your profession completely overnight. You can seamlessly switch between strategies as your farm evolves through the years.
Myth: The Rancher bonus directly increases the value of raw Truffles found by pigs.
Reality: Truffles are strictly coded as forage items, not standard animal products. The Rancher bonus does absolutely nothing for raw truffles, making Foraging skills more relevant there.
Frequently Asked Questions
Does Tiller affect foraged items found in the woods?
No, naturally spawned foraged items are strictly governed by the Foraging skill tree, specifically the Gatherer and Botanist professions, not Farming.
Can I change my farming profession later in the game?
Yes, the Statue of Uncertainty allows infinite skill resets for 10,000g each time, letting you easily switch paths.
Does the Rancher profession affect Truffles?
No, truffles are technically forage. However, Truffle Oil is massively boosted by the Level 10 Artisan profession on the Tiller side.
Is Artisan mathematically better than Agriculturist?
Yes, mathematically speaking, Artisan generates significantly more total gold than the crop growth speed bonus provided by Agriculturist, especially with expensive keg crops.
Do fruit trees count for the Tiller bonus?
Yes, the raw fruit harvested directly from planted fruit trees officially receives the 10 percent Tiller price bonus when shipped.
How exactly does Rancher affect cheese production?
Rancher only boosts the price of raw milk. If you process that milk, you need the Artisan profession to actually boost the final cheese value.
Does the 10 percent crop bonus apply to crafted seeds?
No, the Tiller bonus strictly applies to the harvested crops you ship, not to the seeds you craft or sell back to Pierre.
How much does it cost to switch professions?
It costs a flat, recurring fee of exactly 10,000g at the Statue of Uncertainty in the Sewers every single time you want to switch.
Conclusion
Choosing between these two incredible paths ultimately comes down to your personal playstyle, your tolerance for machine management, and your current farm infrastructure. Both options offer fantastic ways to build a thriving, beautiful homestead. Take a close look at your daily routine, count your processing machines, and make the choice that brings you the most joy. Now it is time to grab your watering can or your milk pail and get back to work—share your ultimate farm layout choices with your fellow players and see who builds the wealthiest empire in the valley!